Security Code reviewing is a tedious task specially when you do it with primitive tools and techniques like grepping or die()
Visual Studio Code is a powerful IDE from Microsoft and I think it’s the best product from Microsoft in the past few years. Hence we can make a use of it to debug PHP code dynamically while running and enjoy the rich features of VS Code.
Now I will assume that you already have a running VM with a PHP application working on Apache server and all other components.
installing and setup VS Code to debug PHP code can be painful task. So please make a snapshot of your VM and try to tackle any issues may arise, currently I did test this setup with the latest VS Code version and related debug components. Follow along the following steps and make necessary changes if needed.
Installing VS code:
go to download page of VS Code and get the latest version https://code.visualstudio.com/docs/setup/linux
then install it locally in your VM box:
$ sudo apt install ./code_1.52.1-1608136922_amd64.deb
Installing VS Code debug extension:
I prefer to run the VS code from the directory where the PHP application is hosted to save local settings, personally I do switch to root user account since I ( am lazy ) want to also edit code and test different scenario
# code –user-data-dir
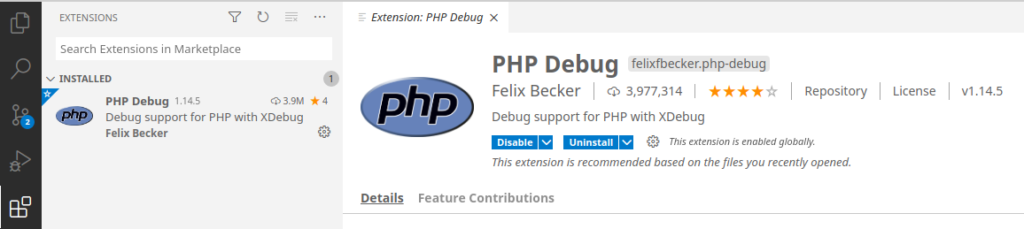
Now go to extensions on the left pane and search for PHP debug one, Install the first one by Felix Becker
Create phpinfo file:
We need to create a simple PHP file to display the contents of the PHP environment. this data will help us later when setting the Xdebug adapter.
# echo “<?php phpinfo(); ?>” > info.php
Installing Xdebug extension:
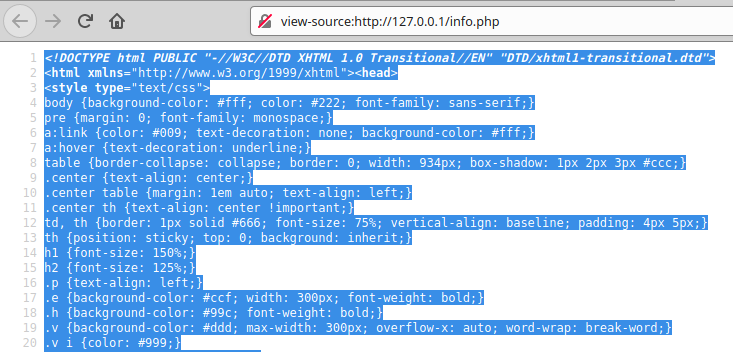
Xdebug adapter will help us with the Apache connection when debugging inside VS Code, First step to Install Xdebug is to browse to the freshly created info.php webpage and copy all of the Page Source.
browse to the wizard web page of Xdebug website, this will help us in creating a compatible version of Xdebug to our environment.
paste the page source in the textbox, click on Analyse my phpinfo() output button and download the compressed file.
before creating the Xdebug adapter; just make sure PHP development libs and other needed stuffs are installed to have a successful Xdebug compilation
$ sudo apt-get install php-dev autoconf automake php-xdebug
Now go to your download folder and extract the Xdebug project files
$ cd ~/Downloads/
$ tar -xvzf xdebug-3.0.1.tgz
$ cd xdebug-3.0.1/
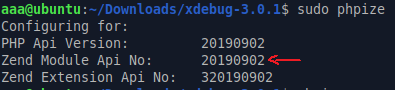
run the phpize command and make a note of your Zend Module Api No, this value will be used later when move the result compiled library file
now start compiling the project using the following commands
$ ./configure && make
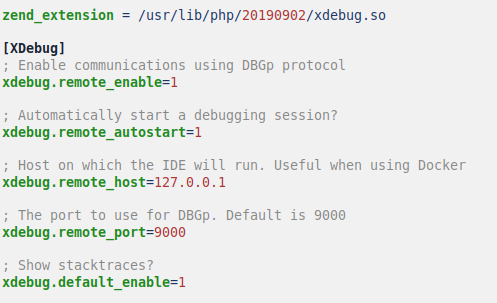
copy the resulted compiled library to the shared php library in the system, recall the number of Zend Module Api No from above command
$ cp modules/xdebug.so /usr/lib/php/20190902
Next We need to edit the php.ini file for the Apache instance to utilize the new Xdebug adapter, paste the following lines at the bottom of the file.
restart the Apache service:
$ sudo service apache2 restart
Using the debugger:
Launch VS code again and open the PHP application folder from file menu, go to the debug function on the left pane. the VS code need to setup configuration file for the debugging purpose, this file is called launch.json. You don’t need to add it manually just click on create a launch.json file and VS code will create one for you.

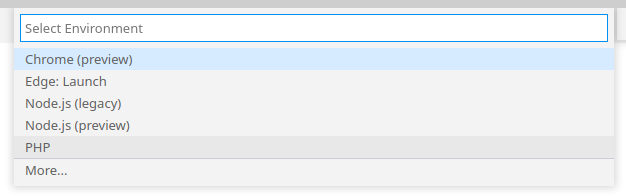
then select PHP from the environment menu
now click on the green play button to start the debugger.
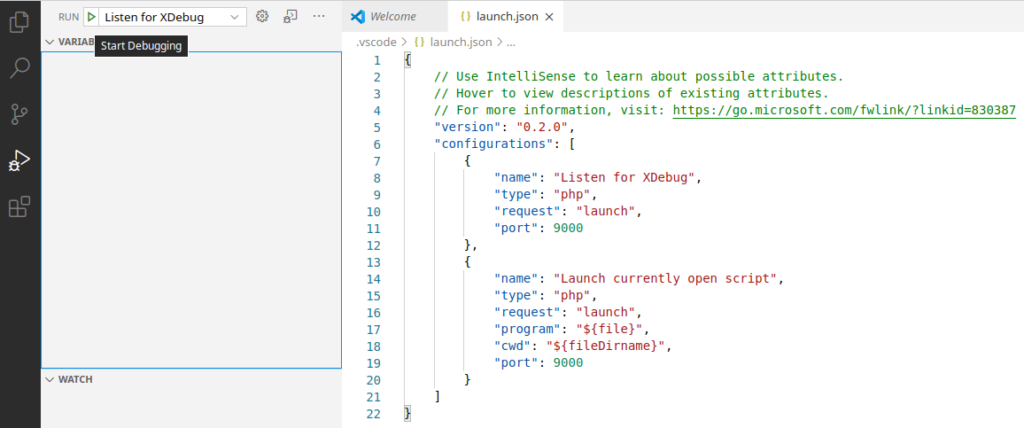
and that’s it! You can debug PHP code dynamically. I will not dive in details how to trace the code execution, setting breakpoints or watching local variables. you have to spend some time to get familiar with VS code debugging functionality.
references:
https://dev.to/zeegcl/debugging-a-php-project-on-vscode-with-xdebug-2anp
https://medium.com/@inmune7/debugging-php-code-with-vscode-cf429aa0178a